

Step-by-Step Guide: Replacing Old Hinges with Continuous Door Hinges
2026-03-18
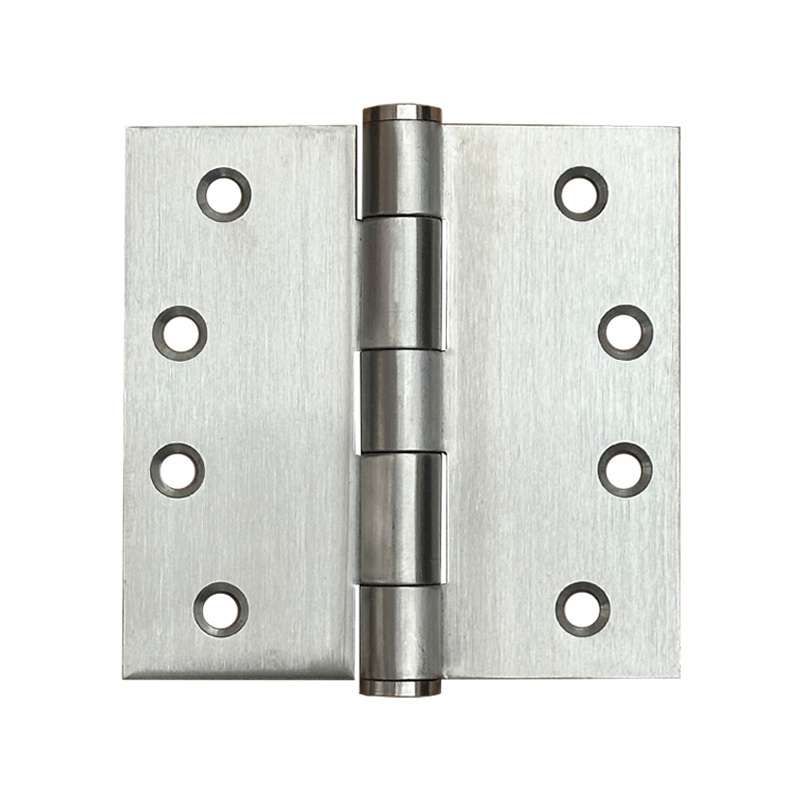
Step-by-Step Guide: Replacing Old Hinges with Continuous Door Hinges
Introduction to Continuous Door Hinges
Continuous door hinges, also known as piano hinges, offer a robust solution for doors that experience frequent use. Unlike traditional hinges, which have a few points of rotation, continuous hinges run the entire length of the door, providing enhanced support and stability. This guide will walk you through replacing old hinges with continuous door hinges, ensuring your doors function smoothly and look great.
Why Choose Continuous Door Hinges?
Advantages of Continuous Door Hinges
Continuous door hinges come with various benefits that make them an excellent choice for homeowners and contractors alike:
- Enhanced Durability: Continuous hinges distribute weight evenly, reducing wear and tear on the door and frame.
- Increased Security: The design of continuous hinges makes it difficult for intruders to pry open doors.
- Smoother Operation: These hinges allow for a smooth opening and closing motion, improving the user experience.
- Aesthetic Appeal: Available in various finishes, continuous hinges can enhance the overall look of your door.
- Versatile Applications: Suitable for residential and commercial use, they can be installed on various door types.
Types of Continuous Door Hinges
Before diving into the replacement process, it's essential to understand the different types of continuous door hinges available:
- Full Surface Hinges: These hinges mount directly onto the door and frame for easy installation.
- Concealed Hinges: These hinges are hidden when the door is closed, offering a clean look.
- Offset Hinges: These provide additional clearance for doors that need more space.
Essential Tools and Materials
Before starting your project, gather the following tools and materials to ensure a smooth installation process:
Tools Needed
- Drill: For removing old hinges and installing new ones.
- Screwdriver: A manual or power screwdriver will work depending on your preference.
- Measuring Tape: To ensure accurate measurements for hinge placement.
- Level: To guarantee that your door hangs straight.
- Pencil: For marking hinge locations.
- Chisel: To create space for hinge mortises if necessary.
- Safety Goggles: Protect your eyes during the drilling and chiseling process.
Materials Needed
- Continuous Door Hinges: Purchase the appropriate size and style for your door.
- Screws: Ensure you have the correct type and length for your hinges.
- Wood Filler: If needed, to fill gaps left by old hinges.
- Paint or Stain: For finishing touches after installation.
Step-by-Step Instructions for Replacing Old Hinges
Step 1: Remove the Old Hinges
Begin by carefully removing the door from its frame. Use a screwdriver or drill to take out the screws holding the old hinges in place. If the hinges are stuck, gently tap them with a hammer to loosen them. Once removed, set the door aside on a soft surface to prevent damage.
Step 2: Prepare the Door and Frame
Inspect the door and frame for any damage. If the old hinges have left visible holes, fill them with wood filler and let it dry completely. This step is crucial for ensuring a sturdy installation of the new hinges.
Step 3: Measure and Mark for New Hinges
Using a measuring tape, determine the correct placement for your continuous door hinges. Typically, hinges should be positioned about 5 to 7 inches from the top and bottom of the door. Mark the locations with a pencil for accuracy.
Step 4: Chisel Out Hinge Mortises (if necessary)
If your new continuous hinges require mortising, use a chisel to create space for them. Ensure the mortises are deep enough for the hinges to be flush with the surface of the door and frame.
Step 5: Attach the Continuous Hinges to the Door
Align the continuous hinge with the marks you made earlier. Using a drill or screwdriver, attach the hinge to the door with screws. Ensure it is secure and check that the hinge operates smoothly before proceeding.
Step 6: Install the Door Back into the Frame
With the continuous hinges attached to the door, carefully lift the door and place it back into the frame. Align the hinge with the frame’s pre-existing holes or the new markings you've made.
Step 7: Secure the Hinge to the Frame
Just as you did with the door, attach the continuous hinge to the frame using screws. Ensure everything is tightened adequately and double-check that the door opens and closes smoothly.
Step 8: Final Adjustments and Finishing Touches
Once installed, make any necessary adjustments to ensure the door hangs evenly. Use a level to check that the door is straight. If needed, you can touch up the door with paint or stain to match your decor.
Common Mistakes to Avoid
When replacing door hinges, it's important to avoid common pitfalls that can lead to poor installation:
- Neglecting Measurements: Always double-check your measurements to avoid misalignment.
- Over-tightening Screws: This can strip the holes and weaken the hinge's hold on the door.
- Ignoring Door Weight: Ensure your continuous hinges can support the weight of the door.
- Forgetting Safety Precautions: Always wear safety goggles to protect your eyes during installation.
FAQs About Continuous Door Hinges
1. How long do continuous door hinges last?
Continuous door hinges are designed for durability and can last for many years—often exceeding the lifespan of traditional hinges—especially in high-traffic areas.
2. Can I install continuous hinges on any door?
Yes, continuous hinges can be installed on most door types, including residential and commercial doors. However, ensure that the hinges are the appropriate size and weight capacity for your specific door.
3. Do I need special tools for installation?
While basic tools like a drill, screwdriver, and measuring tape are sufficient, you may need a chisel if mortising is required. Most homeowners can complete the installation with standard DIY tools.
4. How do I maintain continuous door hinges?
Routine maintenance includes regular cleaning to prevent dust buildup and lubricating the hinges occasionally to ensure smooth operation.
5. Are continuous door hinges easy to replace?
Yes, with the right tools and instructions, replacing old hinges with continuous hinges can be a straightforward DIY project, allowing homeowners to enhance the functionality of their doors.
Conclusion
Replacing old hinges with continuous door hinges is a worthwhile investment that enhances the functionality, security, and appearance of your doors. By following this step-by-step guide, you can ensure a successful installation that not only meets your needs but also provides long-term benefits. Whether you're a seasoned DIY enthusiast or a first-time homeowner, this project is achievable with the right tools and a little patience. Embrace the transformation of your doors today with continuous door hinges!

Contact Us
E-mail :
ivyhinge@163.com
Phone/WhatsApp:
+86 18924942354
Address:
XIAOLAN TOWN,ZHONGSHAN cIty,GUANGDONG province,China

ivyhinge@163.com
Copyright © 2024 IVY HINGE MANUFACTURER
Business License